How to use PBR Textures in Blender?
2 years ago
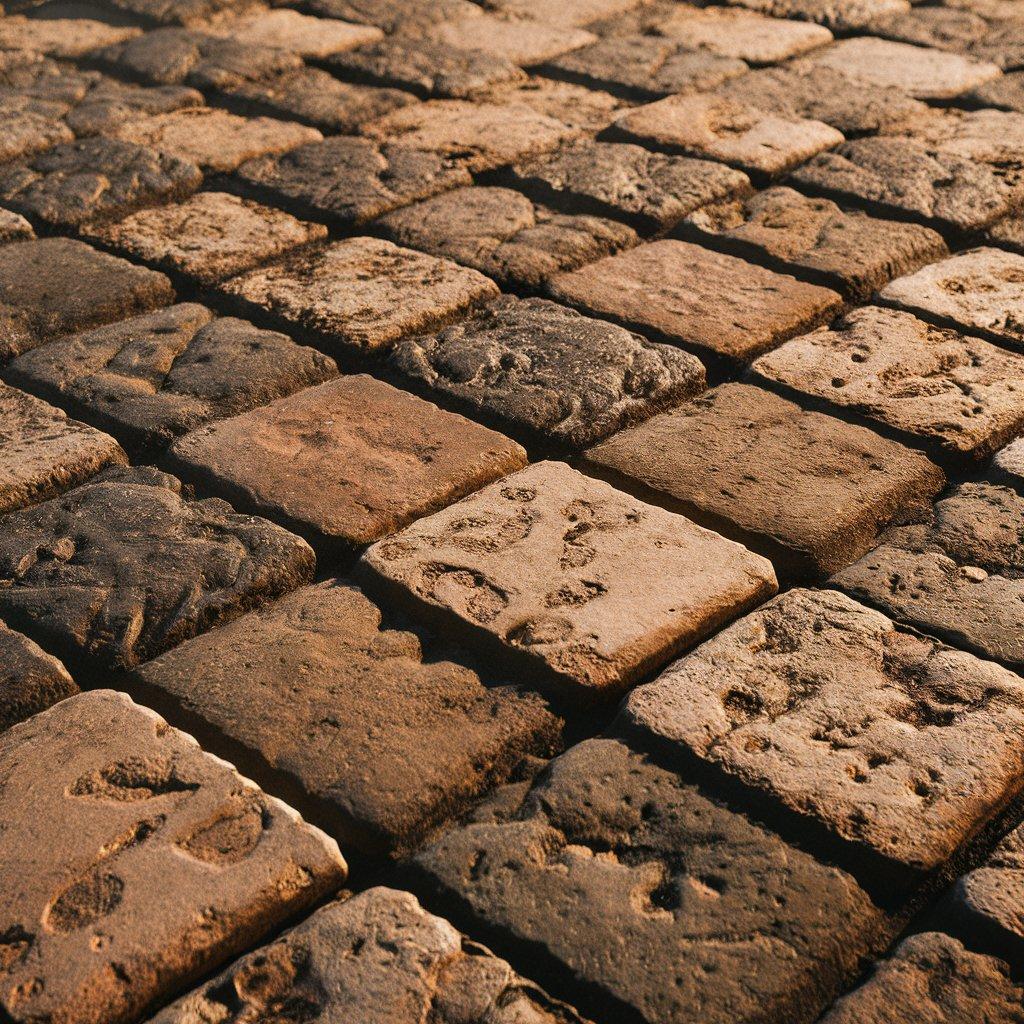
Welcome to our comprehensive guide on using Physically Based Rendering (PBR) materials in Blender. PBR is a powerful method that allows you to achieve highly realistic renders by accurately simulating how light interacts with different surfaces. In this tutorial, we'll walk you through the process of setting up and applying PBR materials in Blender, using a paving stone texture as an example.
What is PBR?
PBR, or Physically Based Rendering, is a shading and rendering technique that provides a more realistic depiction of materials by simulating how light behaves in the real world. This method relies on various texture maps that control different material properties, such as color, roughness, and surface normals.
Step 1: Downloading the Texture Maps
To get started, we need to download a set of PBR texture maps. One of the best sources for free, high-quality textures is ambientCG.com. For this tutorial, we'll download a paving stone texture in 4K resolution. This set includes several maps: diffuse (color), normal, roughness, displacement, and ambient occlusion.
Step 2: Setting Up the Material in Blender
Adding a Plane:
Open Blender and add a plane to the scene by pressingShift + Aand selecting "Mesh" > "Plane". This plane will serve as the surface for our paving stones.Creating a New Material:
Switch to the Shading workspace and click on "New" to create a new material. This will open the Shader Editor.Applying the Diffuse Map:
In the Shader Editor, pressShift + Aand add an "Image Texture" node. Click "Open" and select the diffuse (color) map you downloaded. Set the color space to RGB and connect the texture node to the "Base Color" input of the Principled BSDF shader.
Step 3: Adding Lighting
For realistic rendering, proper lighting is essential. Add a point light by pressing Shift + A and selecting "Light" > "Point". Position the light above the plane and increase its power in the Object Data Properties panel to adequately illuminate the scene.
Step 4: Applying the Normal Map
Loading the Normal Map:
Add another "Image Texture" node, load the normal map, and set the color space to Non-Color Data.Using a Normal Map Node:
PressShift + A, add a "Normal Map" node, and connect the image texture node to the "Color" input. Then, connect the "Normal" output to the "Normal" input of the Principled BSDF shader.
Step 5: Working with the Roughness Map
Loading the Roughness Map:
Add a new "Image Texture" node, load the roughness map, and set it to Non-Color Data. Connect the node to the "Roughness" input of the shader.Fine-Tuning with a Color Ramp:
To adjust the roughness, you can add a "ColorRamp" node and slide the black and white points to control the reflectivity. This technique can simulate effects like a wet surface, where certain areas are more reflective than others.
Step 6: Adding Displacement for Real Depth
Preparing the Plane:
To apply displacement, we'll need to add more geometry. Go to the Modifier tab, add a "Subdivision Surface" modifier, and set the subdivision level to 6. This will increase the mesh's resolution, allowing for more detailed displacement.Applying the Displacement Map:
Switch to the Experimental feature set in the Render Properties, enable Adaptive Subdivision, and set the material's displacement method to "Displacement and Bump". Load the displacement map in a new "Image Texture" node, set it to Non-Color Data, and connect it through a "Displacement" node to the material output.Adjusting Displacement Scale:
Finally, set the displacement scale to around 0.04 to achieve a realistic depth effect without excessive distortion.
Step 7: Enhancing with Ambient Occlusion
Ambient Occlusion (AO) adds subtle shadows in crevices, enhancing realism.
Loading the AO Map:
Add an "Image Texture" node, load the AO map, and set it to Non-Color Data.Mixing AO with Base Color:
Use a "MixRGB" node to blend the AO map with the diffuse map. Set the blend mode to "Multiply" and adjust the factor to control the shadow intensity.
Step 8: Rendering in Eevee
While Cycles supports displacement natively, Eevee requires a different approach:
Preparing the Mesh:
Subdivide the plane in Edit Mode, then return to Object Mode and add a "Displacement" modifier. Load the displacement map and adjust the strength to 0.04.Final Adjustments:
Ensure the plane is subdivided sufficiently and smooth shaded for a better appearance.
By following these steps, you've now successfully applied PBR materials in Blender, creating a highly realistic paving stone surface. Whether you're using Cycles or Eevee, understanding how to work with different texture maps is essential for achieving professional-level renders. Experiment with different textures and settings to perfect your 3D models.